Layering gemstone necklaces looks effortless on someone else and ends in a knot on your dressing table. The stones are rarely to blame. Length, chain weight and the clasp you never looked at twice decide whether a stack sits flat or spends the evening climbing over itself.
Here is the checklist worth running through before you add another piece: how to space your lengths, which chains behave next to each other, and the fastenings that hold a layered look together. It is written for UK shoppers, so measurements are in centimetres and metal descriptions follow the marks you will see on British high street and independent pieces.
Measure Your Neck Before You Buy Anything Else
Everything starts with two numbers. Wrap a soft tape measure around the base of your neck, where a choker would sit, and write the figure down. Your collar measurement plus the drop you want gives you every length you will ever need to order. Most UK necklaces are sold in centimetres, and the familiar categories run roughly like this:
- 35–40cm — collar or choker, sitting at the base of the throat
- 42–45cm — the classic pendant position, resting on the collarbone
- 50–55cm — below the collarbone, ideal as a middle layer
- 60–70cm — sitting on the sternum or just below it
- 75cm and up — a rope length, often worn doubled
The working rule for a stack is a visible gap of about 5cm between the points where each pendant finishes. A wide or chunky pendant eats into that gap, so give it more room, not less. Two chains of the same length will always fight, and the shorter one usually wins. If you are between sizes, size up rather than down: a necklace that sits a centimetre lower than planned is easier to layer than one that presses against the throat.
Pick an anchor length
Choose the one length you already reach for daily — for most people, 42cm or 45cm. That is your anchor. Add a second piece 5–8cm longer, then decide whether there is genuinely space for a third in between. On a shorter neck, three layers crowd the throat; the same three pieces on a longer neck can look half-finished. A simple test is to put on your anchor and one candidate, then turn your head slowly left and right. If the upper chain rides up or the pendant flips, the gap is too tight.
Chain Types, and Which Ones Behave
Chain construction matters more than most shoppers expect. Two chains of the same gauge and the same link shape will twist around each other within an hour, however carefully you put them on. The fix is not to avoid layering; it is to vary link shape, weight and texture so each strand has its own space.
Curb and belcher. Flattened links that lie flat against the skin and resist twisting. Reliable, hard-wearing, and a good spine for a stack. A 1.5–2mm curb is a sensible base for a medium gemstone pendant.
Cable. The simplest link there is. Fine cable chains are the worst tangle offenders, so if you layer two, make sure one is noticeably heavier than the other. A 0.8mm cable next to a 2mm curb will usually behave; two 1mm cables will not.
Box. Square links that hold a straight line. They slide over each other with less friction than cable or curb, which makes them good companions for fine chains. They are also less forgiving of sharp pendants, so check the bail for rough edges.
Rope. Twisted and strong, heavier than it looks, and far less prone to tangling. Treat it as the base of the stack. A 2.5mm rope in sterling silver or 9ct gold can carry a heavier gemstone without looking strained.
Snake. A smooth tube that looks beautiful and kinks permanently at the first sharp bend. Keep it to one layer. If you love the look, wear it alone with a single pendant rather than risking it in a stack.
Figaro and other patterned chains. The alternation of link sizes catches the light, so they work well in the middle of a stack where a plain chain would disappear. They also add visual texture without adding a second pendant.
Satellite and beaded chains. The small beads catch on fine links next door and on knitwear. Keep them beside something smooth. Herringbone lies beautifully flat but dents easily, so wear it alone or as the only metal layer beside a single beaded strand.
Vary the gauge as well as the link style. A 0.8mm cable, a 1.6mm curb and a 2.5mm rope in one stack read as three separate pieces. Three 1mm cables read as a blur. As a rough guide, keep anything under 1mm for small, light pendants, and give heavier stones 2mm and up.
Match the Chain to the Gemstone
The stone should dictate the chain, not the other way around. A 10mm amethyst pendant on a 0.8mm cable will pull the chain into a V and twist the clasp to the front. The same stone on a 2mm curb or rope sits properly and keeps its shape. Weight is the first consideration, but hardness and finish matter too.
Delicate stones. Opal, pearl, moonstone and small faceted stones generally suit finer chains: box, fine cable, or a light curb. Keep the metal smooth so it does not scratch the stone or catch on a prong setting. If the stone is translucent, a slightly warmer metal — 9ct yellow gold or rose gold — can make the colour glow, while silver and white gold keep the look cooler.
Heavier stones. Agate, jade, malachite, large quartz and chunky cabochons need a chain with some body. Curb, belcher or rope in 2mm and up will hold the pendant steady. If the stone is heavy enough to swing, choose a shorter anchor length so it does not bounce against a lower layer.
Transparent and brightly coloured stones. Amethyst, citrine, blue topaz and garnet often look best with a chain that disappears, so the colour does the talking. A box chain or a fine figaro can do this without the tangle risk of a plain cable. If you want the chain to be part of the design, a rope or beaded chain adds interest, but keep the neighbouring layer plain.
Mixed metals and UK hallmarks. Mixing silver, 9ct gold and rose gold is entirely acceptable, but repeat a metal at least twice in the stack so it looks intentional. In the UK, look for the assay office hallmark on gold and silver pieces, especially on clasps and jump rings. A tiny hallmark on the clasp is a good sign that the piece is not plated costume jewellery that will flake after a few wears.
Clasps, Extenders and Fastenings That Hold
The clasp is the least glamorous part of the necklace and the one most likely to ruin a layered look. A weak spring ring on a heavy gemstone will pop open; a bulky lobster claw on a fine chain will drag the whole stack to one side. Match the clasp to the weight of the chain, not to the size of the stone alone.
- Lobster claw — secure and easy to grip, ideal for medium and heavy chains. Look for one with a smooth trigger and a closed loop that will not catch on hair.
- Spring ring — light and discreet, fine for delicate chains and small pendants. It is not strong enough for a heavy gemstone stack.
- Toggle clasp — a T-bar through a ring. Attractive on bracelets and chunky necklaces, but it can come undone if the chain is too fine or the stack pulls from different directions.
- Magnetic clasp — convenient, but many are too weak for gemstones. If you use one, keep it on the lightest layer and test it by gently tugging before you leave the house.
- S-hook and barrel clasp — traditional and secure when well made, though they can be fiddly. Barrel clasps suit heavier ropes and can be less likely to catch on clothing.
Extender chains are useful for testing lengths before you commit. A 5cm extender turns a 42cm necklace into a 47cm one, which can be enough to make a stack work. Just remember that an extender adds another clasp and another potential tangle point, so keep it at the back and check it sits flat under collars. For a permanent layered look, a multi-strand clasp or necklace spacer is worth the small investment: it holds two or three chains at a single fastening point and stops them crossing at the nape.
Putting It On Without the Tangle
Order matters. Put on the longest layer first, then the middle, then the shortest. This sounds obvious, but most tangles happen when you try to slide a shorter chain under a longer one that is already hanging. If you are using a multi-strand clasp, fasten all the chains to it while they are laid flat on a table, then lift the whole piece over your head.
Fasten clasps at the front, then rotate them to the back. It is easier to see what you are doing, and it prevents the shorter chain from catching on the longer one. If you have a very fine chain, thread it through a needle or a piece of fishing line to guide it, or use a small hook. At the end of the day, undo the stack in reverse order and lay it flat in a jewellery box or on a lined tray. Hanging three layered necklaces on one hook is the fastest route to a knot.
If a stack still tangles, remove one layer. Three well-spaced necklaces will always look better than four that fight.
Quick Layering Formulas for UK Wearers
Use these as starting points, then adjust for your collar measurement and pendant size.
- Everyday minimal: 42cm fine box chain with a small gemstone, plus 50cm curb chain with a slightly larger pendant. One metal, two textures.
- Wedding or occasion: 40cm choker, 45cm pendant, 55cm rope. Keep the choker plain so the middle pendant stands out.
- Longer neck or layered knitwear: 45cm, 55cm and 70cm. The 70cm rope can be doubled if the middle layer feels lonely.
- Mixed metal: 42cm silver box, 50cm 9ct gold curb, 60cm rose gold rope. Repeat silver once more in a small earring or ring to tie it together.
Finally, check the whole stack in daylight, not just bathroom lighting. Gemstones change colour depending on the light, and a chain that looks balanced indoors can look heavy outside. Turn your head, lift your arms, and sit down. If nothing pulls, flips or disappears under a collar, you have built a stack that will survive the day.
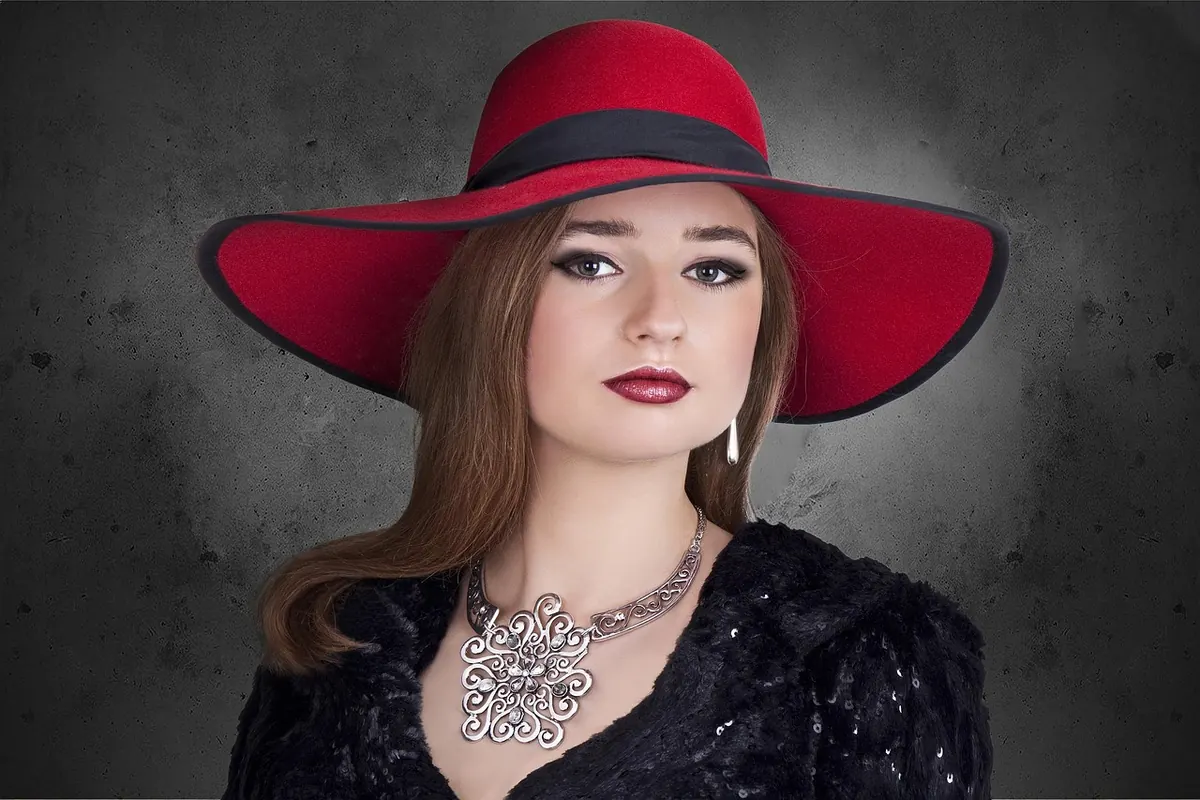
Photo: haidi2002 / Pixabay